This article contains affiliate links.
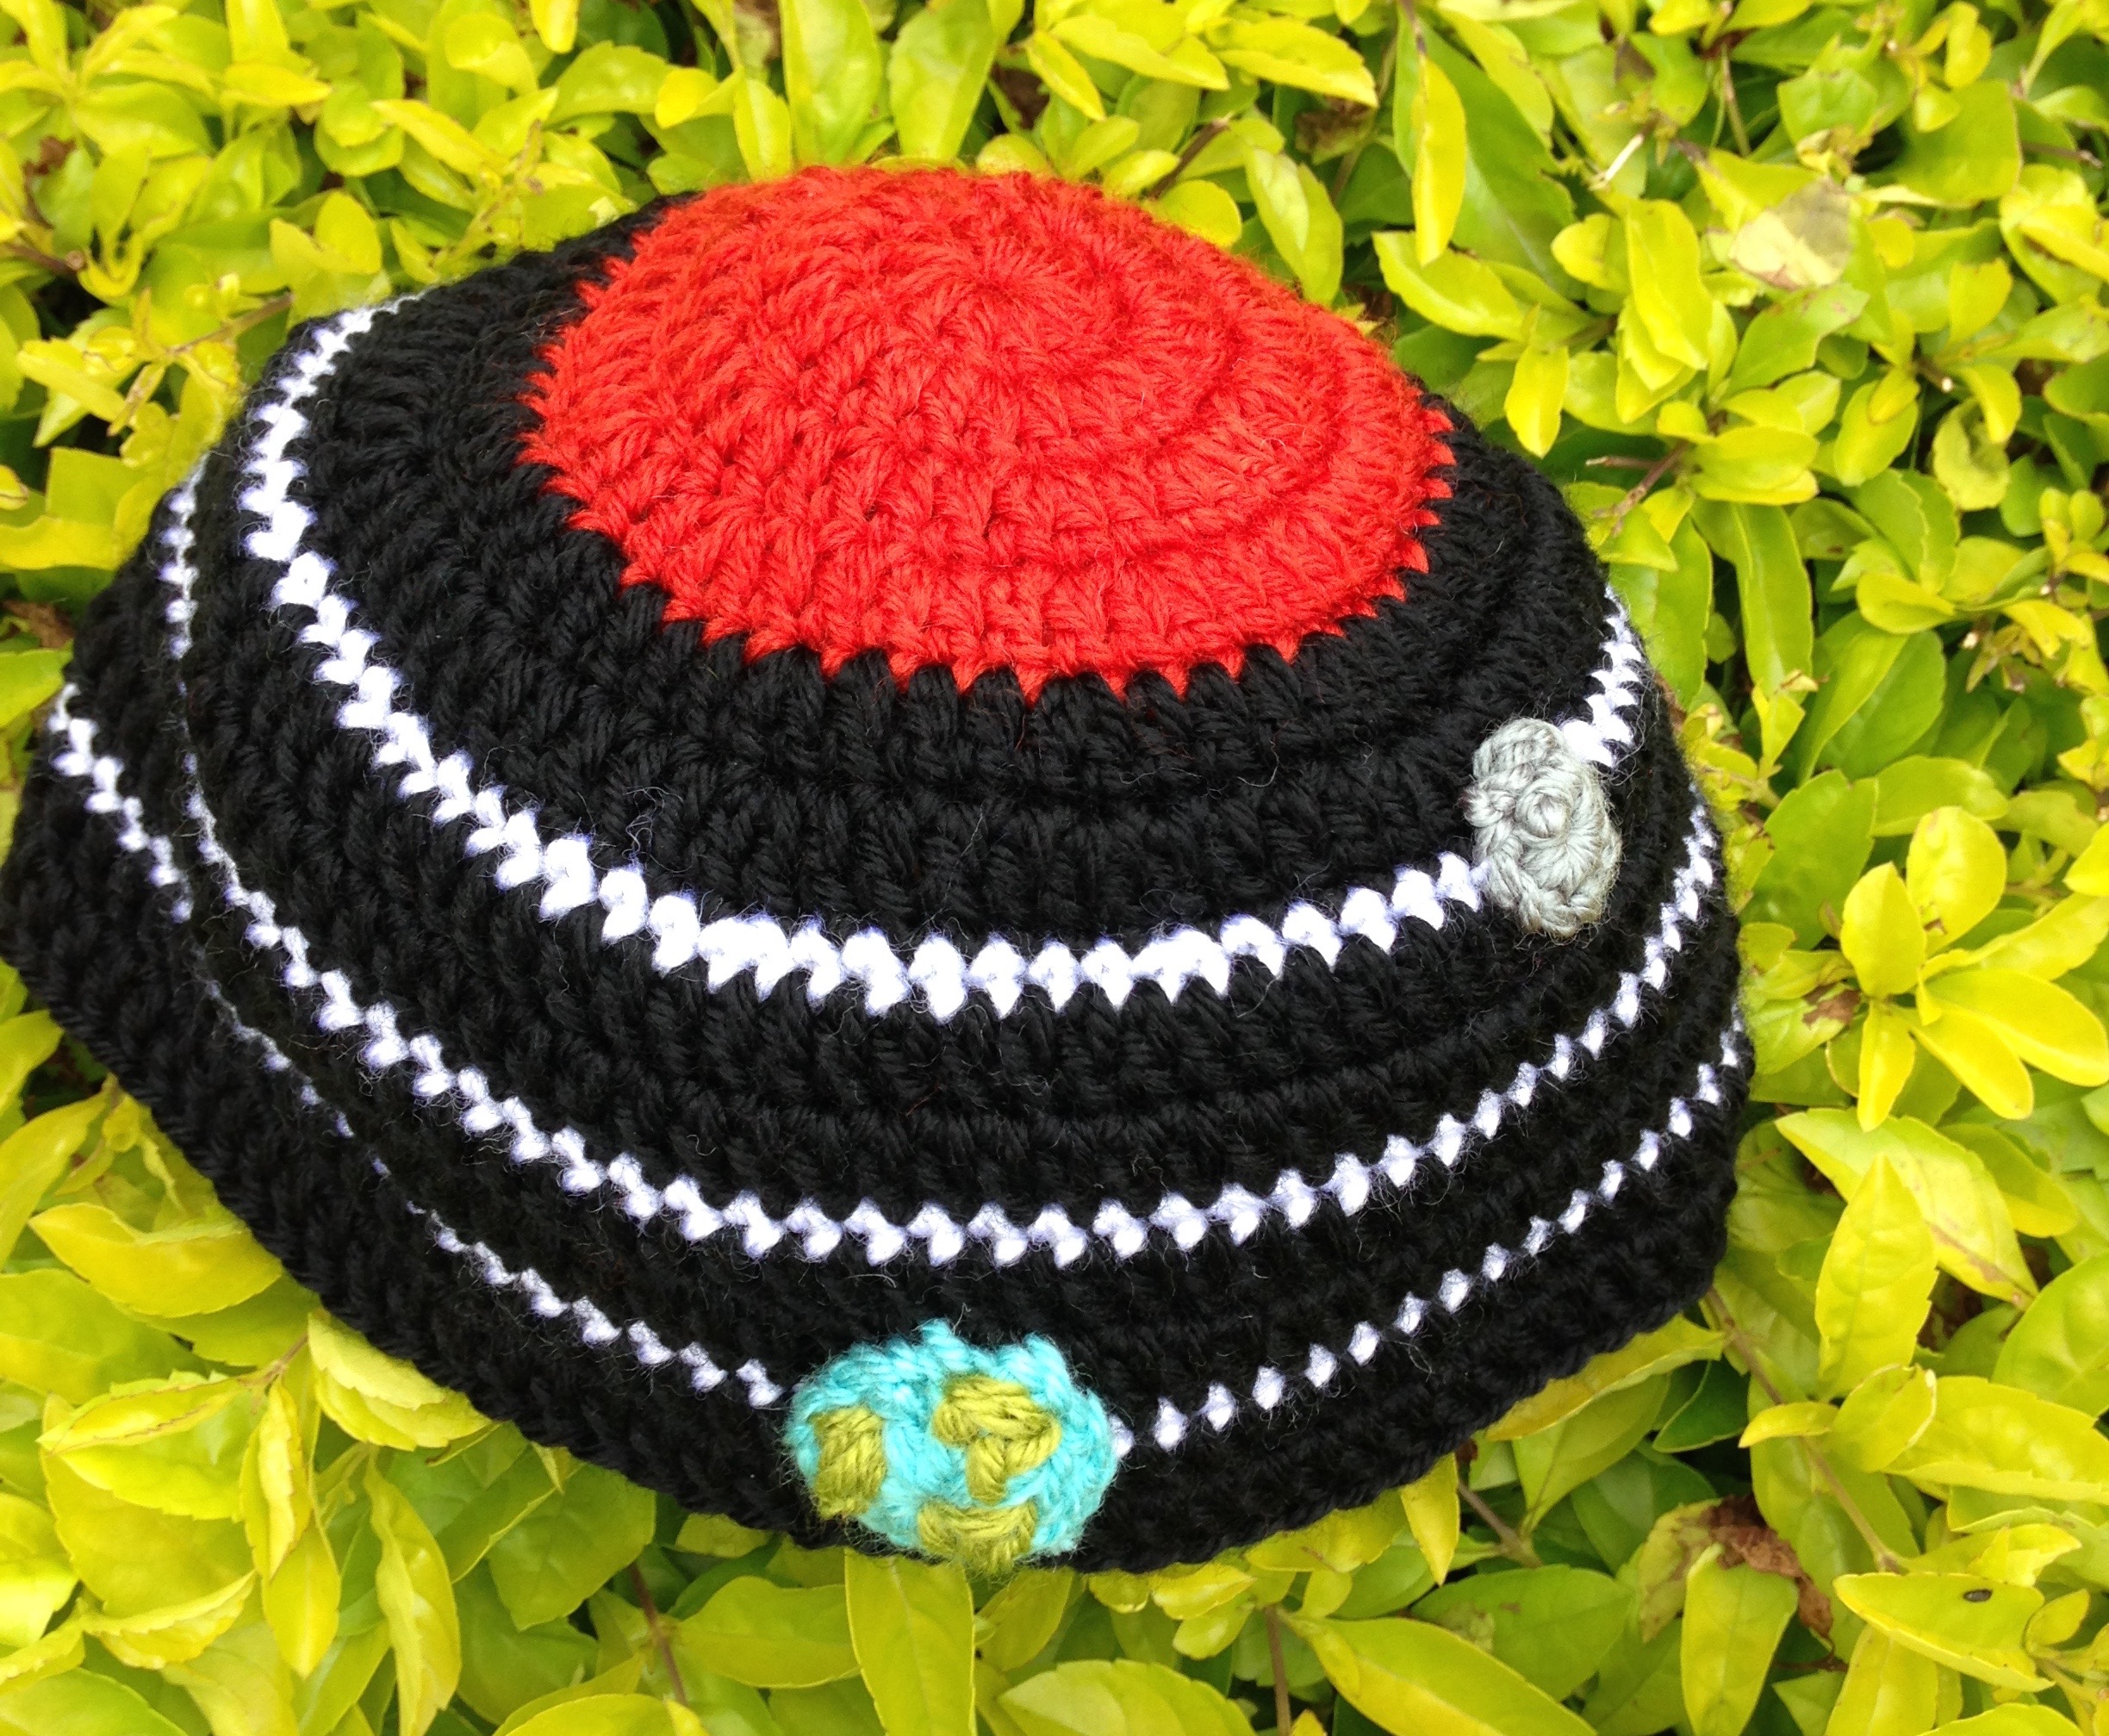
Here’s a gift idea for the aspiring (or accomplished) astronomer in your life! This hat represents the solar system. The sun is very large. I represented that by starting the hat with orange. The white, sc rows represent the planet orbits and the black dc rows represent the space between them. This hat was for a small child so I didn’t get all 8 of the planets on it, but if you use thinner tread you would be able to fit them all on. Here you can see Mercury and Earth, Venus is on the other side of the hat, which you can see in the picture below this one.
Solar System Hat


For general instructions on how to make shapes and hats, look here.
Earth and the Moon

You could make as many planets and moons as you want, but I only made our Moon and Earth. I kind of free form crocheted the shapes of the continents, but here are the directions for the Moon and Earth. You’ll notice the moon is slightly egg shaped. That is true in real life as well and that plays a role in the same side of the moon always facing Earth. It takes the same amount of time for the moon to rotate as it does for it to revolve around the Earth. The more massive side of the moon points towards Earth.
Earth:
Make 2. Ch4 and sl st to close into a circle. Work the first rnd in the loop. (x means on sc in each sc st) (v means 2 sc in a single sc from the previous rnd)
rnd 1: 10sc
rnd 2: v in each stitch(20)
rnd 3: xv (30)
rnd 4:x (30)
rnd 5:xxv (40)
rnd 6:xxv(50)
rnd 7: x(50)
rnd 8:10sc v, repeat to end of rnd (54)
rnd 9:x(54)
rnd 10: increase in 2 st on opposite sides of the work (56)
rnd 11-14:x (56)
Sew the two halves together leaving a small opening, stuff, and then finish sewing together. Crochet some green shapes to sew on to represent the continents. You can find general instructions to make shapes here.
Moon:
Make 2. Ch4 and sl st to close into a circle. Work the first rnd in the loop. (x means on sc in each sc st) (v means 2 sc in a single sc from the previous rnd)
rnd 1: 8sc
rnd 2: v in each stitch(16)
rnd 3: x (16)
rnd 4:xv (24)
rnd 5:x (24)
rnd 6:xxv(32)
rnd 7: x(32)
rnd 8:xxxv(40)
rnd 9-13:x(40)
Sew the two halves together leaving a small opening, stuff, and then finish sewing together.
I used Acrylic Brava Worsted yarn from Knit Picks for this project. This was the first time I’ve used acrylic yarn from them. It is really soft and I’m not sure I can really go back to using other brands after this! Knit Picks has been my favorite source for yarn for about seven years now. The really good news for Aussies is that they ship to Australia for free if you buy at least AUD $100. I found that yarn is quite expensive in Australia, so you should take a look at the prices. I think you’ll find them quite reasonable.
For more crocheting project ideas, take a look at my Pinterest board.


